Step 1: Download Android Studio

At this point, do not install Android Studio. It will require a compatible JDK, or Java Development Kit, for installation.
Step 2: Download and Install the Java Development Kit

Make sure to install the 8u92 Java Development Kit. Now that we have installed the Java Development Kit, we can now install Android Studio.
Step 3: Install Android Studio
This step is pretty straightforward, just follow the instructions on the installer.

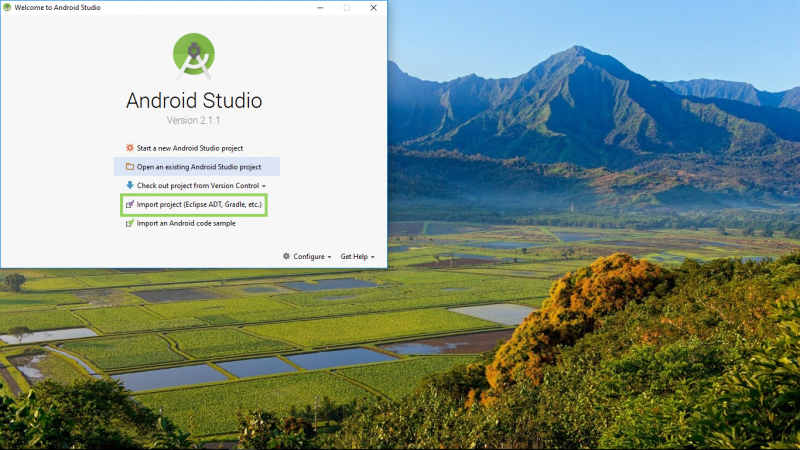
When you launch Android Studio, it should look like the image above.
Step 4: Download FTC App Master from GitHub.

Click download on the top right corner of the website, where it says “Clone or Download.”
Step 5: Import the FTC App Master project into Android Studio
When you enter Android Studio, click Import Project in the menu, and then select your the project you downloaded from GitHub. The project will automatically perform a Gradle sync, which may fail due to some Android libraries that need to be downloaded. It will show the error message in the console, and all you have to do is click download packages. Once the project syncs successfully, you are almost ready to run the app! Gradle is a dependency manager for Android Studio, which keeps the FTC App Master project on your computer up to date with the project that is on GitHub.
Step 6: Setup Android Code Signing
The first part to this step is to download the keystore file. Place this file inside ftc_app-master/FtcRobotController/libs/.
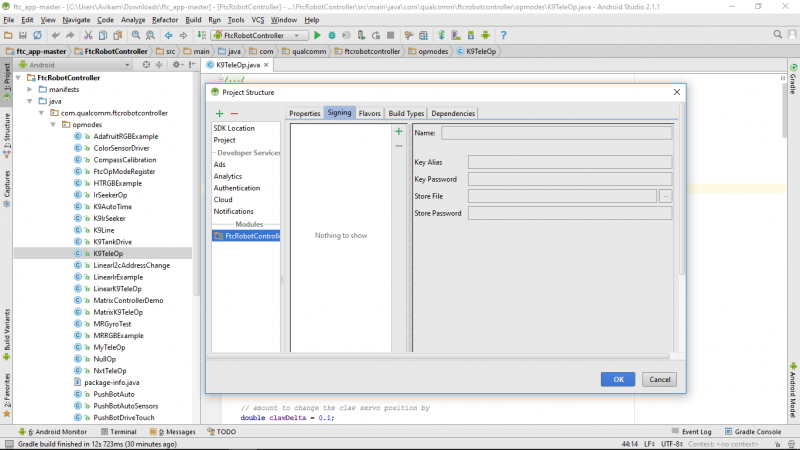
Now, the second part to this step is to click on File > Project Structure. You should see a menu like the one in the image above. Click on Signing, and then click on the green plus sign. The name should be “debug”, the key alias should be “androiddebugkey”, the key password should be “android”, the store file should be the file path to the file: ftc.debug.keystore, and the store password should be “android”.
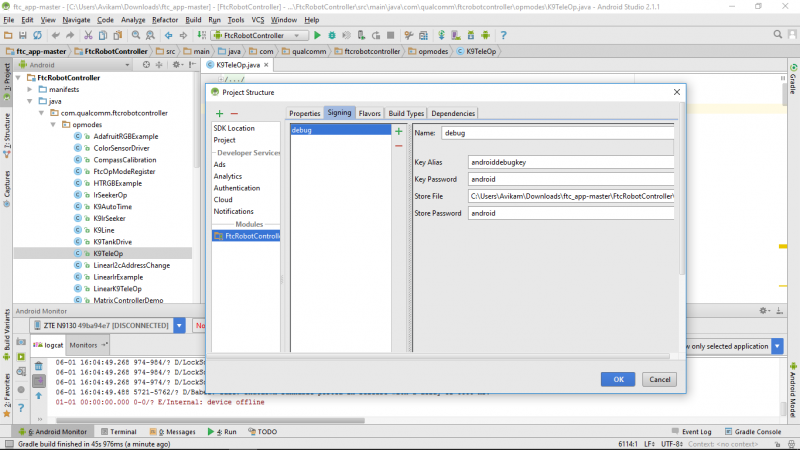
The Signing Menu should look like the image above.
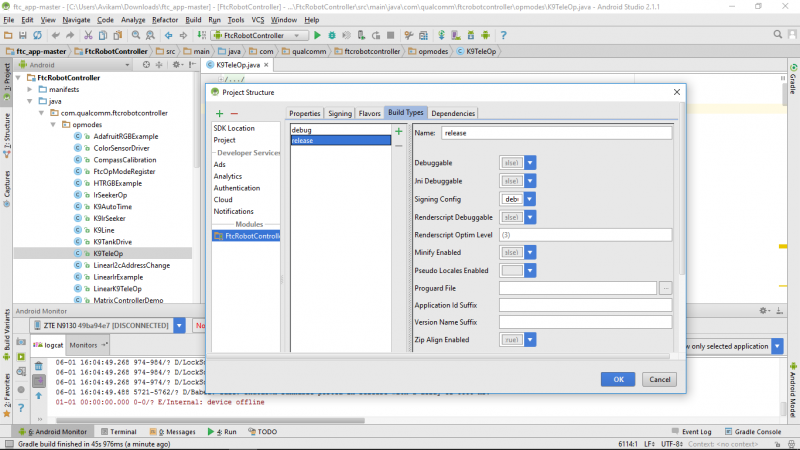
Select the debug signing configuration for the release build type.
Step 7: Install Drivers for the Android Device
On your Android device, click on Settings > About > Software Information > More. Click on Build Number about seven times. Then, go into Settings > Developer Options, and enable USB debugging. Then, go into the main menu for Settings, and click Connect to PC. Here, select Install Drivers. Now, connect your phone to your computer, and find it in the file browser. Locate the driver for the phone, and install it. After installation, go back to Connect to PC, and select Charge Only. Now, you are all ready to create your own op modes and run the app on your phone!
Make sure to see the second part, which talks about creating your first op mode and running it on your phone.
Leave A Comment